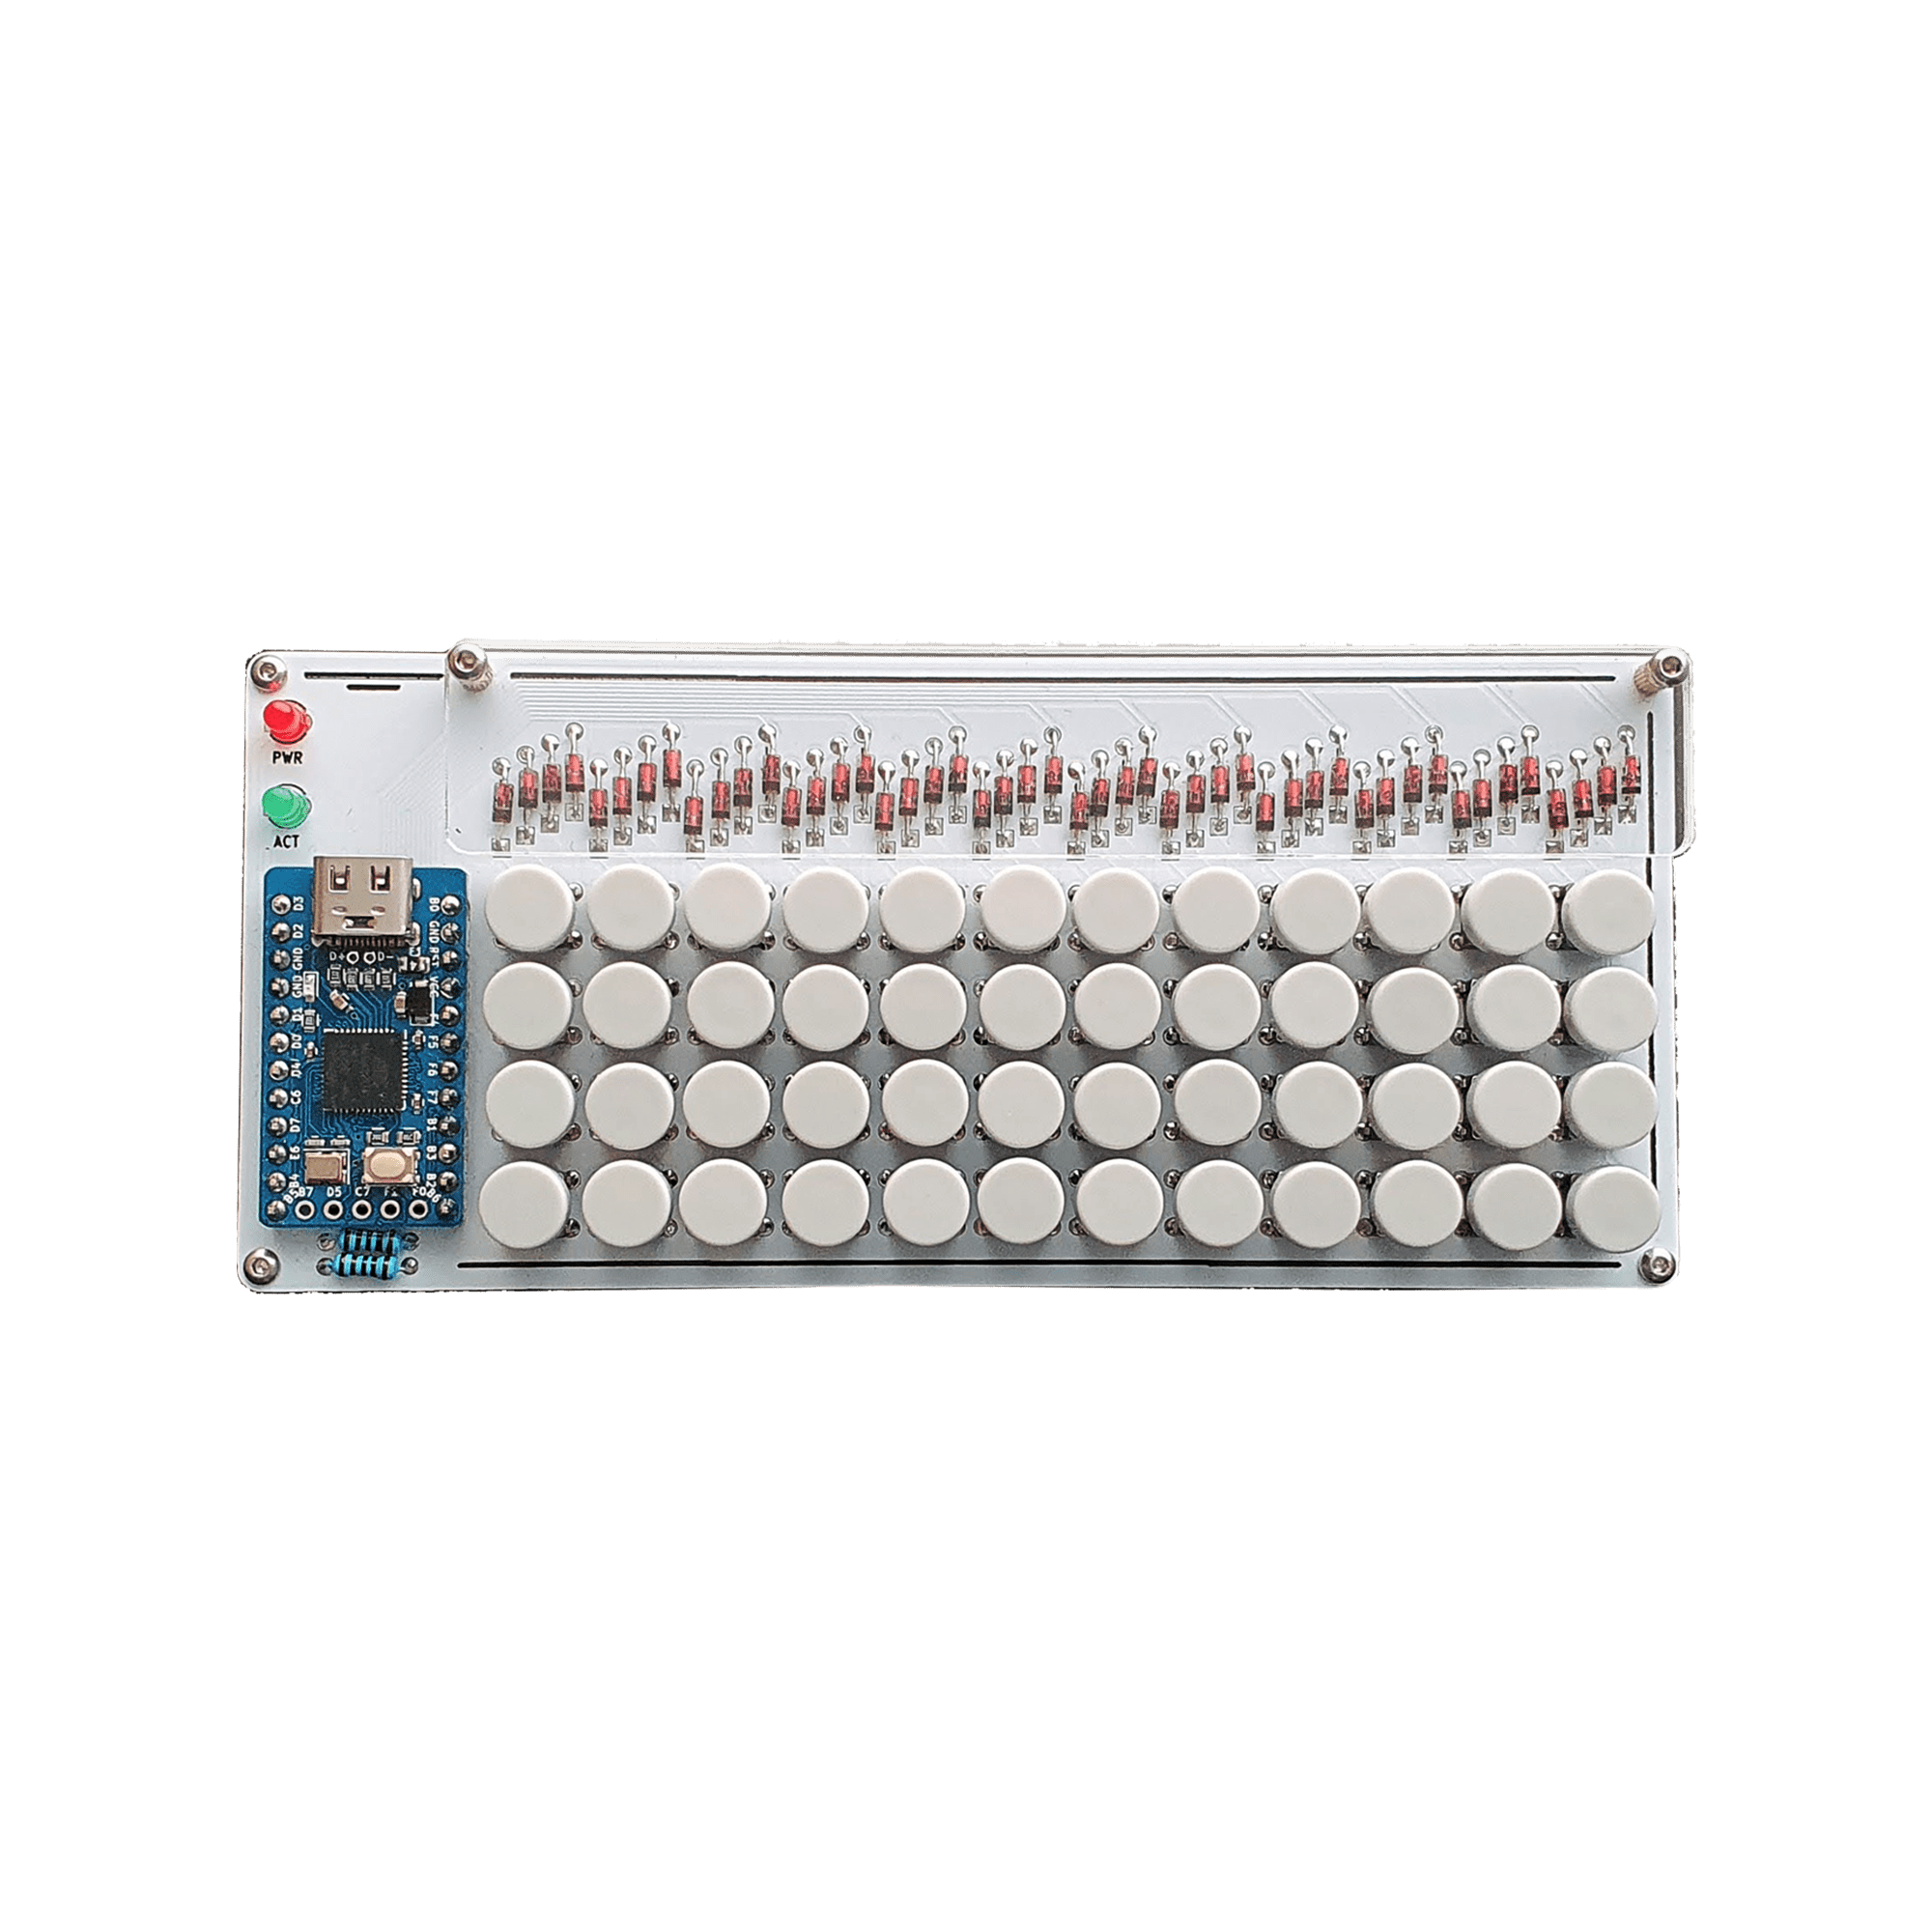
Spent a a couple of very happy hours building the pockettype, only my third soldering project after working my way through a pair of easy practice kits.
This is a very simple kit with everything you need except for the microcontroller. Once you have one of those you're ready to go.
No instructions came with the kit, and I couldn't find a build guide anywhere, but thankfully YouTube came to the rescue.
For anyone in the same boat, the order of assembly is the resistors (brown ring facing downwards) and diodes first, then the switches, then the LEDs, and finally the microcontroller.
Assembling the acrylic plates was the most confusing part, so good luck doing that without a build guide. Also important is to flash the microcontroller before you solder it to the PCB. The QMK Toolbox is your friend for this part of the process, it already has the necessary firmware.
The end result is a quirky little keyboard with very clicky buttons. Not sure yet if I'll have a practical use for the pockettype, but I'm super pleased that it works at all. It gives me confidence to do more ambitious soldering projects down the road.
The only issue is that the LEDS are not working. I think it's something to do with using a different microcontroller to the recommended Pro Micro.
One last thing; a big thank you to the gang at MechBoards for their generosity. I asked if they would include a set of black keycaps to go with the white board, and they obliged at no extra cost.


